

Tweezers may seem like a small detail at your workstation, but they determine the speed, control and cleanliness of every procedure. The question of how to clean tweezers is not just about hygiene – improper cleaning leaves adhesive on the tips, disrupts the precise grip and can shorten the tool's life. In eyelash extensions, this shows immediately: the fan falls apart, isolation becomes slower and extension placement loses accuracy.
Good practice involves three separate actions: removing adhesive residue and dirt, disinfecting according to the salon protocol, and drying and storing properly. They are not interchangeable. Tweezers that look clean are not always disinfected, and a disinfectant does not always dissolve dried adhesive.
How to clean tweezers between two clients
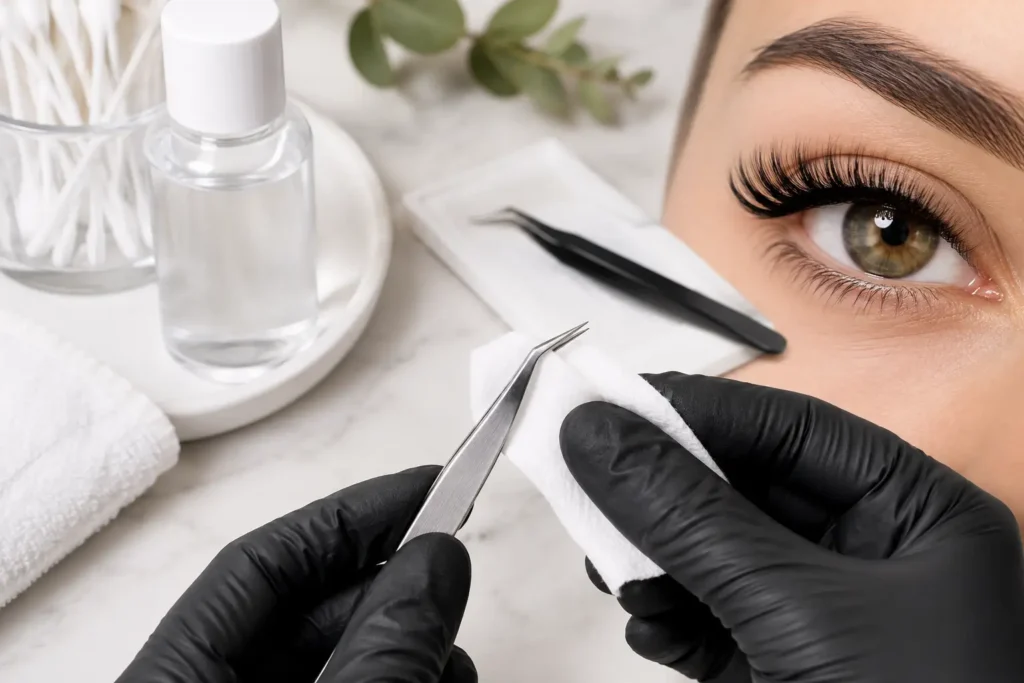
After each procedure, first remove visible residue of adhesive, primer, sebum or lint. Work on a clean, protected surface and do not touch the tip of the tweezers with your fingers. If there is fresh adhesiveon it, act immediately – the longer cyanoacrylate stays on, the harder it is to remove without mechanical rubbing.
Use a lint-free wipe or an applicator with a cleaning product designed for tools and compatible with the material and finish of the tweezers. Carefully clean only the working area, without pressing and without spreading the arms too far apart. With curved or L-shaped tweezers pay attention to the inner side of the tips, where a thin layer of adhesive most often remains.
Next, disinfect the tweezers according to the instructions of the product used. Follow the stated contact time, because a quick spray followed by immediate wiping often does not provide real disinfection. Finally, dry them completely with a clean lint-free cloth and keep them in a closed case, stand or tool box.
Removing dried adhesive without damaging the tip
Dried adhesive is the most common reason quality tweezers start to “drop” lashes. Do not try to scrape it off with a blade, a metal tool or a coarse file. Even a small scratch on the contact surfaces changes how they close and makes the precise grip inconsistent.
Apply a small amount of a dedicated tweezer cleaner or adhesive residue remover to a lint-free applicator. Let it work for as long as the manufacturer recommends, then wipe carefully. If the residue is thicker, repeat the process instead of increasing the pressure.
For tweezers with a colored, matte or special finish, always check the compatibility of the cleaning product. Aggressive solvents can damage the finish, cause darkening or leave roughness. This does not mean every solvent is unsuitable, but that the choice depends on the steel, the finish and the manufacturer's instructions.
Do not soak the tool without a clear reason
Prolonged soaking is not a universal solution for dried adhesive. It can affect finishes and, on some models, the joint area or the tool's elasticity. If you use a disinfection container, follow the exact concentration, time and rinsing instructions of the specific product.
Cleaning, disinfection and sterilization: what is the difference
In salon practice, these terms are often confused, yet each has a different role. Cleaning removes visible residue and organic contamination. Disinfection reduces the number of microorganisms to a safe level according to the product's intended use. Sterilization is a separate process with stricter requirements and is applied depending on the type of procedure, the risk of contact and the applicable hygiene rules.
In eyelash extensions, tweezers work in close proximity to the client's eyes, lashes and skin. That is why the salon needs a clear, consistent protocol for processing tools between clients. Do not rely only on a UV box or a scented spray – they do not replace mechanical cleaning and proper disinfection with a professional product.
If the tweezers are also used for procedures with a different risk profile, such as in a permanent makeup or microblading work area or where the skin barrier is broken, do not automatically apply the same routine. Follow the requirements for the specific service, the sanitary rules and the instructions of the tool and disinfectant manufacturers.
Mistakes that ruin tweezers
Even the best tweezers will not keep their alignment if they are cleaned aggressively or stored carelessly. There are several mistakes that come up regularly in a busy salon:
- rubbing the tips with an abrasive sponge, a wire brush or a file;
- scraping off adhesive with a blade, a needle or another pair of tweezers;
- leaving the tool wet after disinfection;
- storing it loose in a drawer where the tips bump into other tools;
- using unsuitable solvents on a colored or special finish.
It is especially risky to “test” the tip by squeezing hard. If the grip has changed, the problem may be micro-deformation after a drop, an impact or improper cleaning. In that case, do not compensate with more force while working. It tires the hand, disrupts your technique and increases the risk of pinching the natural lash.
How to check the grip after cleaning
Once the tool is completely dry, close the tweezers slowly and watch where the tips meet. With classic tweezers, the contact should be even according to their design. With volume tweezers check whether the working zone holds fine lashes securely and lets you form a fan without slipping.
Do a quick test with a few lashes from a tray, not during a procedure. If the tweezers do not grip well only at the tip, there is probably adhesive residue or slight damage. If they do not close evenly along the entire length, do not try to straighten them at random. A professional tool is precisely aligned, not just a piece of metal to be bent back.
Daily and periodic care at your workstation
Clean the tweezers daily after each client procedure and as soon as adhesive gets on them. At the end of the working day, take a closer look at the tips, the grip zone and the surface of the tool. That way you will spot small buildups before they start affecting your technique.
Also check the organization of your workstation regularly. Separate used tools from processed ones, prepare a clean container or case for tweezers that are ready to use and do not place tweezers directly on the work surface. On busier days, several identical or similar tweezers let you work calmly while the others go through proper processing.
For a beginner lash artist, spare tweezers are not an unnecessary expense but protection against an interrupted procedure. For a salon with several specialists, they are part of good organization and consistent quality for clients.
When it is time for new tweezers
Replace tweezers when they can no longer be cleaned to a smooth working surface, the grip is permanently compromised, the tip is bent or the finish starts to peel. Do not put off replacing them if the tool makes you work more slowly or squeeze harder. The price of new professional tweezers is lower than the cost of a compromised set, a delayed procedure and an unhappy client.
Maintain your tools the way you maintain your technique: with consistency, the right products and no hasty decisions. Clean, dry and well-stored tweezers give you that secure grip the client does not see but recognizes in a flawless result.